DIY Christmas Advent Calendar:
We’re pretty into Christmas this year. I think it has something to do with our 2 year old getting excited about it, so I really wanted to make it special for her. The house has been decorated, and we are going to cut our tree this weekend. My parents always made the holidays really special for us, and an advent calendar was always part of the season.
As a little girl, my brother and I would look forward to the beginning of the Christmas season when our Mom, the day after Thanksgiving, would pull out all the beautiful, sparkly decorations and hang the count down to Christmas advent calendar. Our Advent Calendar was different then the one I decided to make for our daughter, but the idea is the same. Mom hung ours right by the front door, and I have vivid memories of leaving for school and moving the quilted present to the next day, getting closer and closer to Christmas, on the way out the door in the morning.
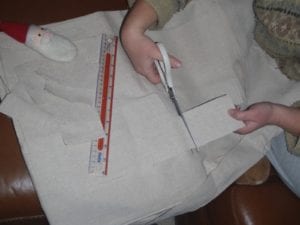
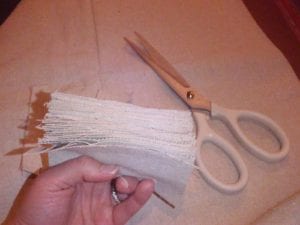
Then placed them together and trimmed them to make sure they were equal sizes.
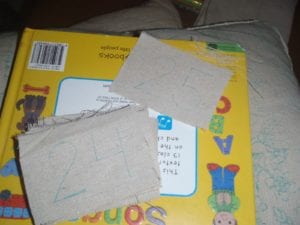
I then used my fabric pen (that disappears with water) to write the numbers on each pocket.
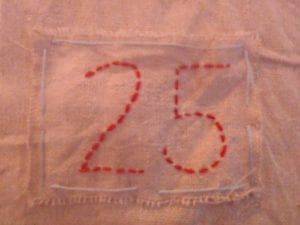
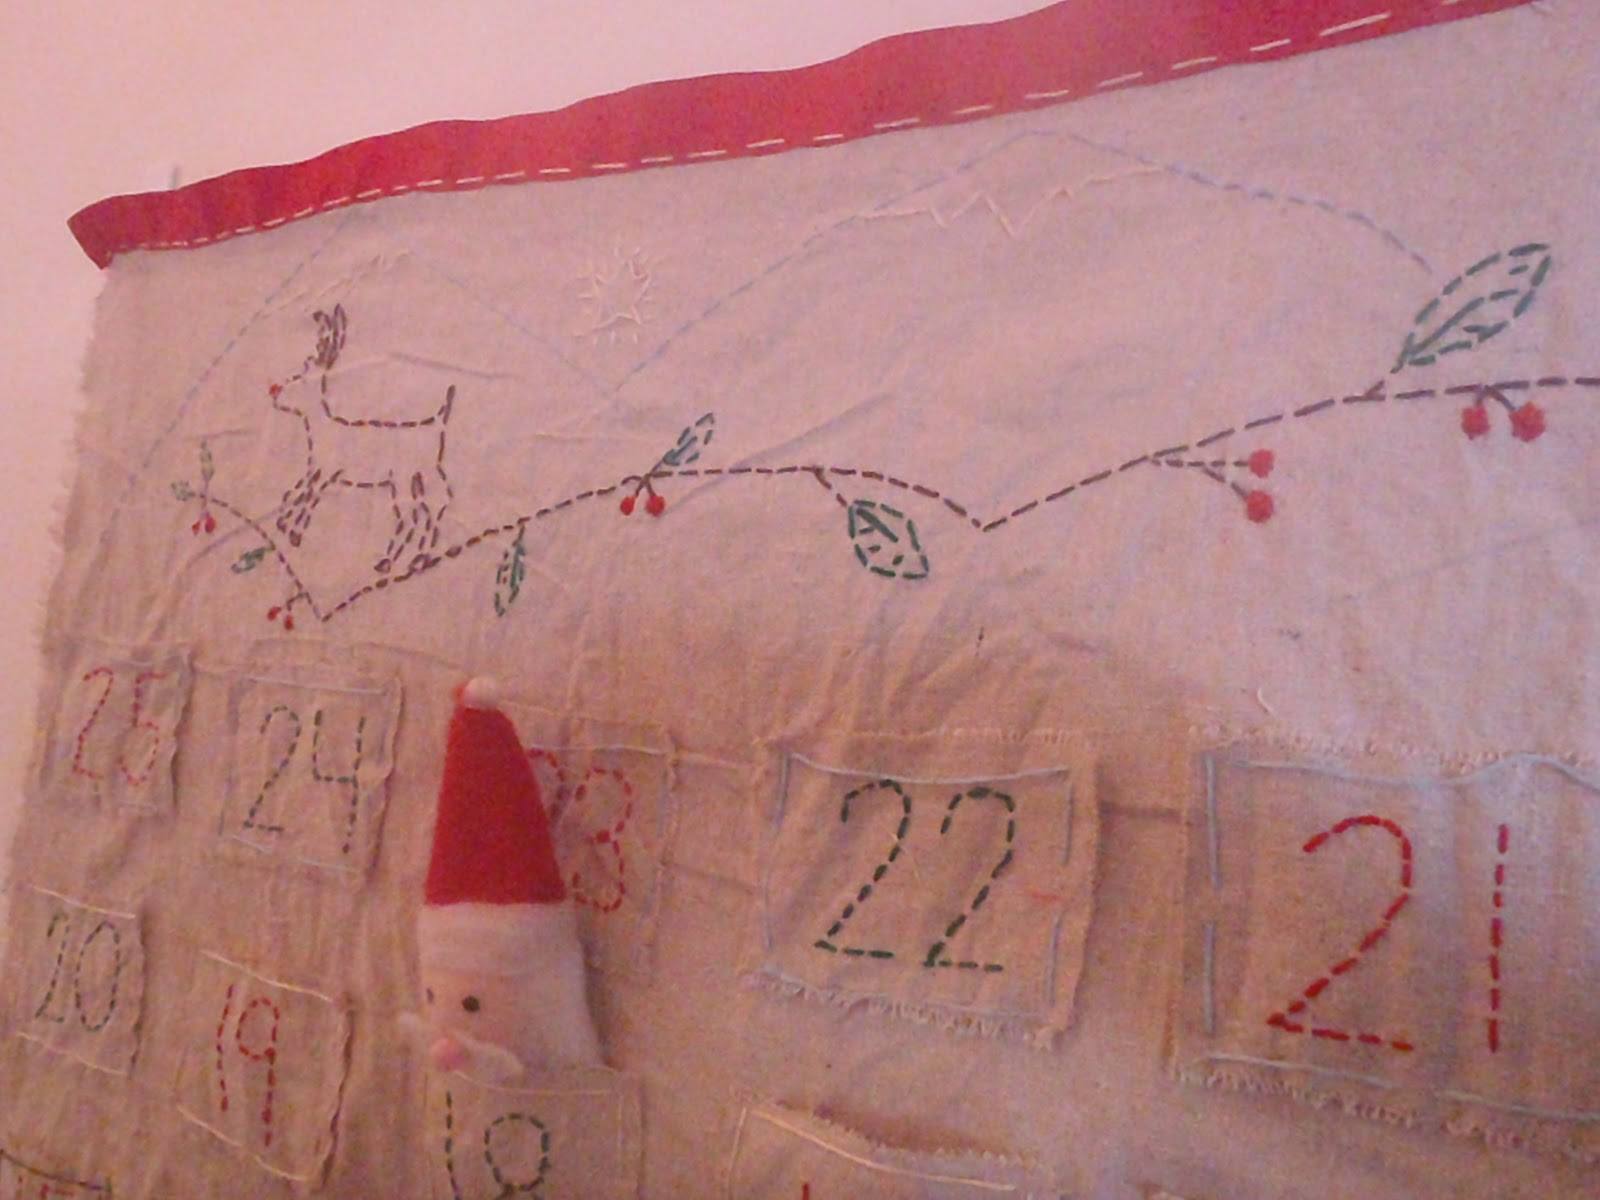
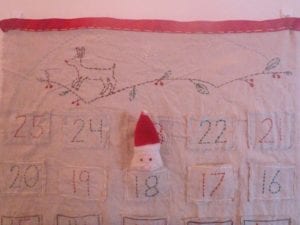
After I wrote all the numbers I began the process of embroidering the numbers. I alternated red and green, every other number.
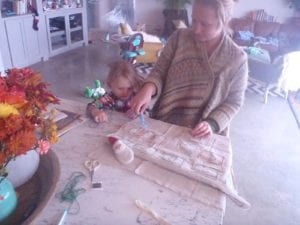
After the numbers were finished, I laid the 25 pockets on the sheet of fabric and got the spacing perfect and began attaching the pockets 1 by 1.
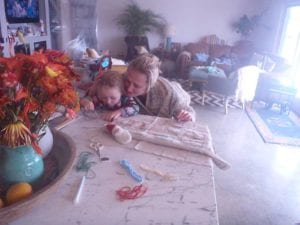
This was a great project to work on with my toddler. Isla loves to help and be a part of the process, so I safely taught her how to embroider. She loved it, and did a great job!
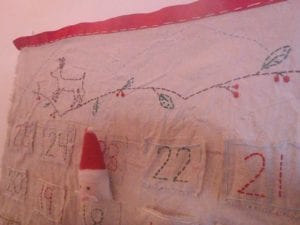
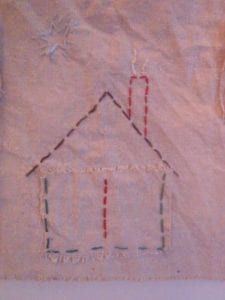
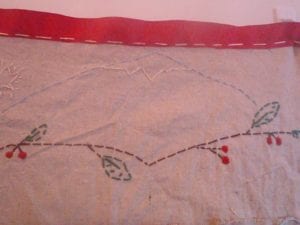
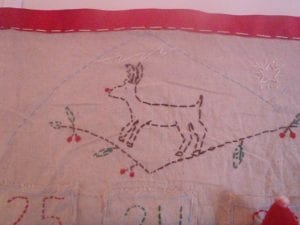
After the pockets were attached and the spacing was figured out, I drew a Rudolph the red nosed reindeer scene on the top and a house with a chimney on the number 1 pocket, to represent Santa coming to the house, and then embroidering it the same way as the numbers.
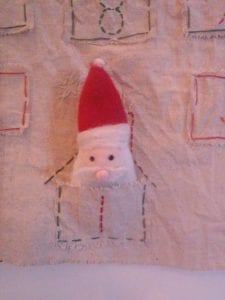
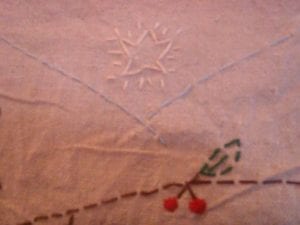
I choose Christmasy colors. Red, green, white, brown, and baby blue. You could use all sorts of colors. Another combination I thought might be nice is using an old white sheet as the fabric and then navy blue and red embroidery thread with pops of gold. The ideas and scenes you can create are endless. I choose something a two year old would connect with, but a manger scene would be beautiful as well.
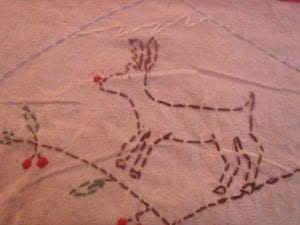
After the embroidery was finished I decided to attach a red ribbon across the top to help with fraying and allow the piece to be hung on the wall.

